

I have wanted to label my gifts with photos for the past three Christmases. And then Christmas comes like a freight train, as it always does and I never get around to it! How many of you say I'm going to do "THIS" this Holiday season and it never happens?! But I am in the perfect position to do this style gift tag because I photograph all of my friends and family all year long so I always have great options for their presents. I thought ahead this year and ordered the prints early. LOVE IT. And I bought this massive roll of kraft paper on amazon 5 years ago and refuse to buy more wrapping until its gone.
Our tree is cute and short and stumpy and busy this year! I usually have cards on our fridge - or this little card tree hanger from West Elm -- But with us having a demoed kitchen this year the cards got tossed in the tree because there is literally just not room for them anywhere else. This room is our safe place right now as the rest of the house is a disaster zone. And it even has an inch worth of dust on it. My full time job is now dusting. HOW DOES IT GET EVERYWHERE.
We are hosting Christmas day dinner for the first time this year and I'm not sure what we were thinking!!?!? I mean my family already knows its always chaos at our house... The dogs will eat the food right off your plate, I'm like a medium housewife so theres typically a million things not done (my mother and aunt put me to shame!), our dogs jump/never listen/chase cats and wild animals, and now we have an awesome gigantic trip hazard as we have subfloor in one side of the house and a big hop to the carpet in the living room. I can just see someone traveling up from our makeshift awkward basement kitchen with their crockpot meal on their paper plate and tripping and their halfway-decent meal flying across the room. TIS THE SEASON. But - as long as we're together that's all that matters! Grateful my family let Nick and I take this on. It should be a Christmas to remember for sure!

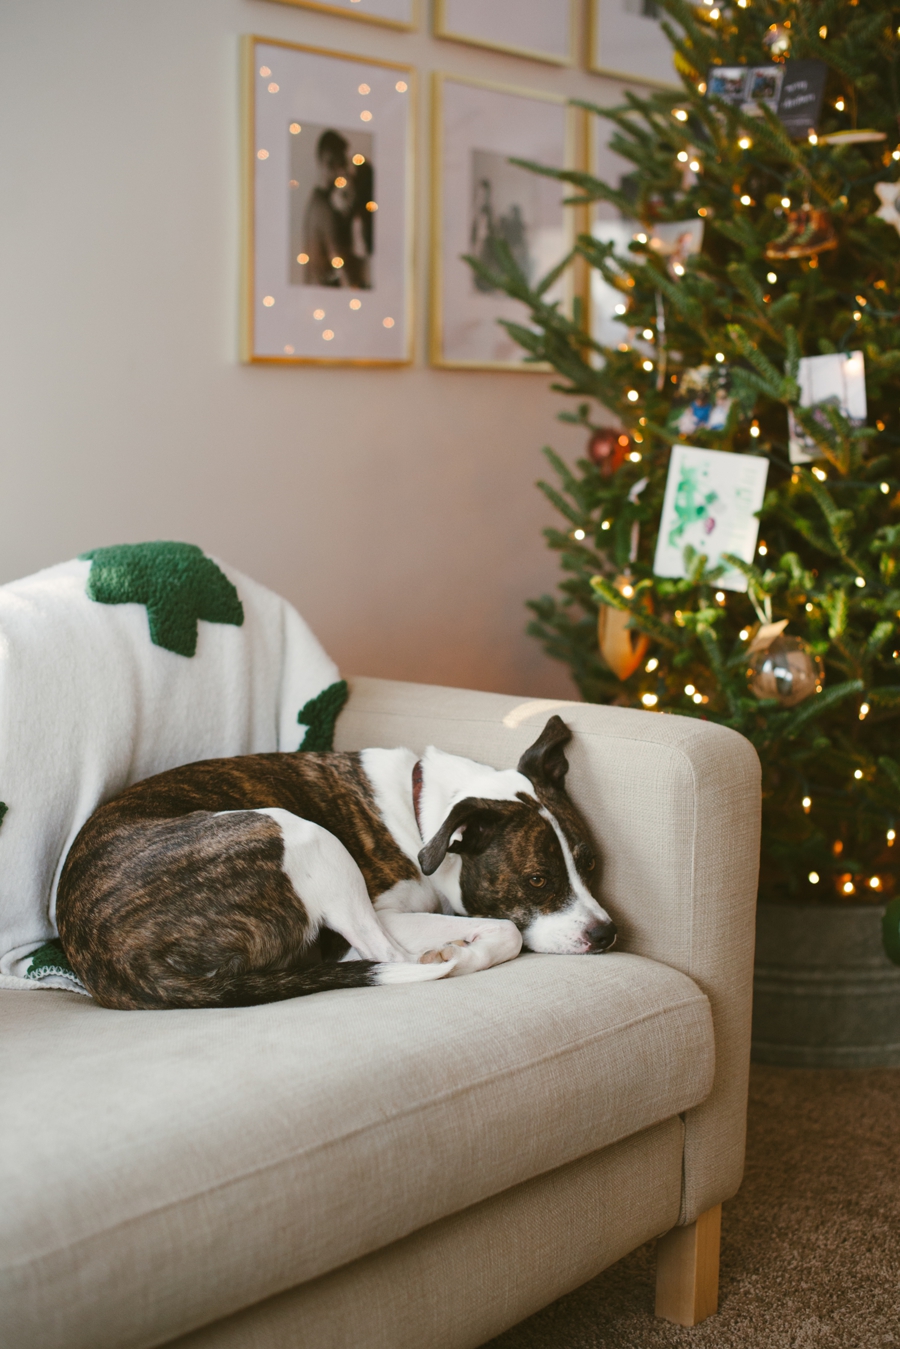
This is Jude's contribution. He's our construction project manager and sidekick to about everything we do. However his help is minimal. Actually negative help typically because he's always stepping in and on things he shouldn't be. But he sure looks cute sleeping by the tree, eh!? Totally worth the $50 bucks. We love ya buddy!
I have an intense love for Marshmallows. They are my favorite part of hot chocolate. And I eat them as a snack multiple times a week. I saw a photo friend post a couple years ago that she made homemade marshmallows and I was like UHHHH ME ME ME I gotta!! So she kindly sent me the recipe she uses. And although I was nervous how they'd turn out (called for a candy thermometer, I'm like howwwww do I use this thing!?) I am just so happy with the result.
Here is the website I got the recipe from! http://www.thekitchn.com/how-to-make-fluffy-vanilla-marshmallows-130751 Thank you to The Kitchn for sharing your wonderful recipe so myself and my family can enjoy it!!

Every year I bake cookies with my sister and best friend and we give them as gifts. I am tossing some hot cocoa and mallows into the mix! Hope all of my friends and family love them as much as I do! I love giving a good handmade from the heart (or the oven) gift.
I was surprised at how easy it was! Just follow the instructions exactly and you are good to go!
How To Make Fluffy Marshmallows (The Kitchn Blog)
Recipe gratefully adapted from Marshmallows by Eileen Talanian
Makes roughly 100 marshmallows, depending on size
What You Need
Ingredients
For the gelatin bloom:
3 tablespoons (typically 3 packets) unflavored gelatin powder (See Recipe Notes)
1/2 cup cold water
1 1/2 tablespoons vanilla extract
For the marshmallows:
3/4 cup water
1 1/2 cups granulated sugar
1 1/4 cup sugar cane syrup or corn syrup
Pinch kosher salt
For the marshmallow coating:
1 1/2 cups powdered sugar
1/2 cup cornstarch
Cooking spray
Equipment
Bowls and measuring cups
Fork or small whisk
9x13 baking pan or other flat container
4-quart saucepan (slightly larger or smaller is ok)
Pastry brush (optional)
Candy Thermometer one that can clip to the side of the sauce pan
Stand mixer with a wire whisk attachment (See Recipe Note)
Clean kitchen towel
Stiff spatula or spoon (as opposed to a rubbery, flexible one)
Sharp knife or pizza wheel
Instructions
- Prepare pans and equipment: Spray the baking pan with cooking spray. Use a paper towel to wipe the pan and make sure there’s a thin film on every surface, corner, and side. Set it near your stand mixer, along with the kitchen towel and spatula. Fit the stand mixer with the whisk attachment.
- Bloom the gelatin: Measure the gelatin into the bowl of the stand mixer. Combine 1/2 cup cold water and vanilla in a measuring cup and pour this over the gelatin while whisking gently with a fork. Continue stirring until the gelatin reaches the consistency of apple sauce and there are no more large lumps. Set the bowl back in your standing mixer. (Alternatively, you can bloom the gelatin in a small cup and transfer it to the stand mixer.)
- Combine the ingredients for the syrup: Pour 3/4 cup water into the 4-quart saucepan. Pour the sugar, corn syrup, and salt on top. Do not stir.
- Bring the sugar syrup to a boil: Place the pan over medium-high heat and bring it to a full, rapid boil — all of the liquid should be boiling. As it is coming to a bowl, occasionally dip a pastry brush in water and brush down the sides of the pot. This prevents sugar crystals from falling into the liquid, which can cause the syrup to crystallize. If you don’t have a pastry brush, cover the pan for 2 minutes once the mixture is at a boil so the steam can wash the sides.
→ Do not stir the sugar once it has come to a boil.
- Boil the syrup to 247°F to 250°F: Clip a candy thermometer to the side of the sauce pan and continue boiling until the sugar mixture reaches 247°F to 250°F. Take the pan off the heat and remove the thermometer.
- Whisk the hot syrup into the gelatin: Turn on your mixer to medium speed. Carefully pour the hot sugar syrup down the side of the bowl into the gelatin. The mixture may foam up — just go slowly and carefully.
- Increase speed and continue beating: When all the syrup has been added, cover the bowl with a clean kitchen towel and increase the speed to high (the cloth protects from splatters — the cloth can be removed after the marshmallows have started to thicken).
- Beat marshmallows until thick and glossy: Whip for about 10 minutes. At first, the liquid will be very clear and frothy. Around 3 minutes, the liquid will start looking opaque, white, and creamy, and the bowl will be very warm to the touch. Around 5 minutes, the marshmallow will start to increase in volume. You'll see thin, sticky strands between the whisk and the side of the bowl; these strands will start to thicken into ropes over the next 5 minutes. The marshmallow may not change visually in the last few minutes, but continue beating for the full 10 minutes. When you finish beating and stop the mixer, it will resemble soft-serve vanilla ice cream.
- Immediately transfer to the baking pan: With the mixer running on medium, slowly lift (or lower, depending on your model) the whisk out of the bowl so it spins off as much marshmallow as possible. Using your stiff spatula, scrape the marshmallow mixture into the pan. This stuff is very thick and sticky, so don’t worry about getting every last bit out of the bowl. Just get as much as you can.
- Let the marshmallows set for 6 to 24 hours: Spray your hands lightly with cooking oil and smooth the top of the marshmallow to make it as even as possible. Let the mixture sit uncovered and at room temperature for 6 to 24 hours to set and "cure."
- Prepare the marshmallow coating: Combine the powdered sugar and cornstarch in a bowl.
- Remove the marshmallows from the pan: Sprinkle the top of the cured marshmallows with some of the powdered sugar mix and smooth it with your hand. Flip the block of marshmallows out onto your work surface. Use a spatula to pry them out of the pan if necessary. Sprinkle more powdered sugar mixture over the top of the marshmallow block.
- Cut the marshmallows: Using a sharp knife or pizza wheel, cut the marshmallows into squares. It helps to dip your knife in water every few cuts. (You can also cut the marshmallows with cookie cutters.)
- Coat each square with powdered sugar mix: Toss each square in the powdered sugar mix so all the sides are evenly coated.
- Store the marshmallows: Marshmallows will keep in an airtight container at room temperature for several weeks. Leftover marshmallow coating can be stored in a sealed container indefinitely.

We got such an amazing snow here last week and I was just in home heaven! Our little cabin covered in snow makes my heart burst outside my chest. If I said I bought a flat roofed house so Santa could land safely would you believe me!?

One of my absolute favorite family traditions is Christmas Tree Hunting. Every year for as long as I can remember we have hopped in my Dad's suburban - drove over the river and through the woods to cut down the perfect tree, Griswold style. Since my sister and I have homes of our own we cut down too. My parents have a massive vaulted ceiling and they've always gotten 15-18ft trees. As a kid this was so incredible. It just felt like the Christmas spirit was that much bigger! In 2012 I started taking my camera and doing videos of out hunt. Any memory we have captured in our life is something I never regret. So much fun to look back on a time we all cherish so much every year. View fun family shenanigans here!:
“ITS THE MOST WONDERFUL TIME OF THE YEAR. MERRY CHRISTMAS TO ALL!”